Day 12
First thing this morning, Jessica went to some of the departments within
biology to take photos of their work. The purpose of this was to give us some
further inspiration by collecting information on some of the current research. A lab Jessica visited was investigating the wheat genome and there she took photos
with Mark Winfield of a next generation sequencing machine for PCR. The plating
and sequencing rooms were kept separate to help ensure that there was no
cross-contamination. It was an interesting insight into how technology has
progressed, from once only been able to sequence 100 samples at any one time to
1500 samples. Further details of this plus the photos from all the research we've managed to get a glimpse at will be compiled in its own post.
After this Jessica went around the gardens to take pictures of different flowers, textures and colours to help us get some ideas for what type we would use for Heather's model.
A sample of the flower photographs
In the afternoon we went for our appointment with Annette. In our absence she had produced 3 new spheres, this time ensuring they were completely dry on the inside, but she hadn't autoclaved them to save time.
One of the spheres Annette swirled agar around to try and make a pattern and then inoculated it with algae; the second, she dotted agar onto the glass and then inoculated the dots. This was practically quite difficult and many dots were missed as she simply couldn't reach them. To help solve this problem, the third flask she mixed agar with the algae before hand and dotted it onto the glass. It did however make the agar have some problems setting.
Aside from these experiments with the flasks, Annette had very kindly prepared us 20 plates (half at a 1.2% concentration and the other half at 1.4%). With these plates we would use various tools to spread algae into artistic patterns. We used two types of algae, a red species called planktothrix and a green kind called microcystis. The microcystis is in essence a weed, a hardy species that would more a less grow on anything. Therefore the agar medium we used was suited for the fussier planktothrix.
The workspace we were provided with. Tools would be dipped into alcohol and
then heated in the Bunsen flame to sterilize the equipment before use with the
algae.
Drawing tools included glass rods and hockey sticks, as well as a metal loop. This tool was prone to tearing the agar if not used with care.
Us posing for a photo before beginning our artworks.
Dropping algae onto the agar plates. A sterile pipette was used.
After playing around with what sort of effects and precision we could attain, we sealed all the plates and split them up to grow in two different areas. We mixed them up randomly and set half on the windowsill in the lab and the other half in the growth room in the basement. The growth room was kept at 15 degrees and was constantly lit, so the conditions were very controlled. Annette predicted that the algae would probably have started to grow by Tuesday next week, so we arranged to meet up with her at 1pm on that day to check on their progress.
Plates in their respective locations (first image in the lab, second in the growth room).
The mushroom kit also arrived today. Annette gave us some plates to test some of the mushroom spores' growth in agar, as we thought this would look more attractive in a sphere than the growth material in the kit. One of the mediums was BG11, a multi-nutrient agar. The other was Chlorella soil extract. The material in the mushroom kit itself was quite fussy in how you had to prepare it. We needes to add 3 litres of boiling water to the mushroom substrate and leave it to cool down for 8 hours before the spores could be added. We decided to do this and leave it over night for the best use of our ever dwindling time!
The mushroom growth medium. It looked like rabbit straw you'd buy from a pet shop.
We also researched and ordered some invisible UV paint for the flower model.
In order to buy the paint we needed to pick a colour, and for that we had to
make a final decision on what sort of flower we would try to recreate. The UV
paint was advised to be used on as pale a service as possible, so we decided to
choose something with white petals. The paint was also very expensive and so as
to remain within budget, we wanted a flower which wouldn't be too lavish in its
UV paint requirements. We eventually decided on 'Tripleurospermum maritimum' (shown
below), which fulfilled our criteria very well.


Other errands of the day involved arranging a meeting with Penny at the
botanic gardens to look at some climbing plants at 2 o clock tomorrow, and
while waiting for the water to boil for the mushrooms, I started to make a
little sample of modrock fish scales to use up some more of the paint and make
use of the glitter we'd bought earlier. This idea was inspired by some of the
fish we had seen at the zoo. There had also been much discussion about the
material we would use to make the model flower. For awhile, thoughts had swayed
back to using plaster as we were without adequate sewing equipment, adequate paint
for use on fabric, or adequate time with which to experiment. However, we did
conclude that using some sort of fabric or plastic would give the best effect
and decided to meet at fabric land at 10am the next day to look at some
options.
Day 13
This morning we went to fabricland and found some very suitable material for
both the flower and the bee. The material we bought for the flower was some
white faux leather. It didn't give the floaty, light appearance of flower petals
but we did feel it would take the UV paint well, so it was a good compromise.
This did however give us the problem of where to obtain sewing equipment.
Jessica luckily had some pins, needles and some thread but we were lacking any
fabric scissors or a sewing machine, essential for the amount of sewing we were
intending on doing. Luckily, the faux leather in any case was a material that
didn't fray and responded reasonably well to the cheap scissors we had (although
I am yet to see how the bee’s fur fabric will react), but we still had the
problem of locating a sewing machine. After asking around, I was advised to go
to the drama department as they would be the most likely place in the
university to own one. I paid a visit but they were unable to help me out at
all as they were quite busy, there was however a very nice girl who had a
sewing machine she was willing to lend us. Thank you so much Antonia! You saved
the flower making project!

Returning to the mushroom growing solution of yesterday, the water could now
be removed from the straw bag. Holes were made in the bottom of the bag and the
water was allowed to drain for half an hour. After this, the spore mixture was
crumbled and then mixed thoroughly through the substrate. Six holes were cut in
each side of the bag for the mushrooms to grow out of and then it was all
packed back into its box to keep the environment dark and the inner bag lining
moist. Spores were also added to the agar plates and also put into the box.
 |
| The bag of spores. |
 |
| Prepared agar plates |
I also finished the quick little fish scale model I was making. I simply painted
it with metallic paint and then poured on glitter, shaking of the
excess.
After lunch, Jessica went up to the botanic gardens to meet Penny where she
was taken around the greenhouses. Many of the viewed plants were not suitable
for growth in the spheres as they required a very humid environment. There were
however some possible candidate species in the temperate greenhouse as these
grew at more suitable temperatures.


We were given two cuttings of a plant called Tradescantia. This is a very
fast growing plant that we hear likes to climb around anything and everything.
We hope to see the cuttings grow relatively quickly in the lab.
 |
| Our cuttings. |
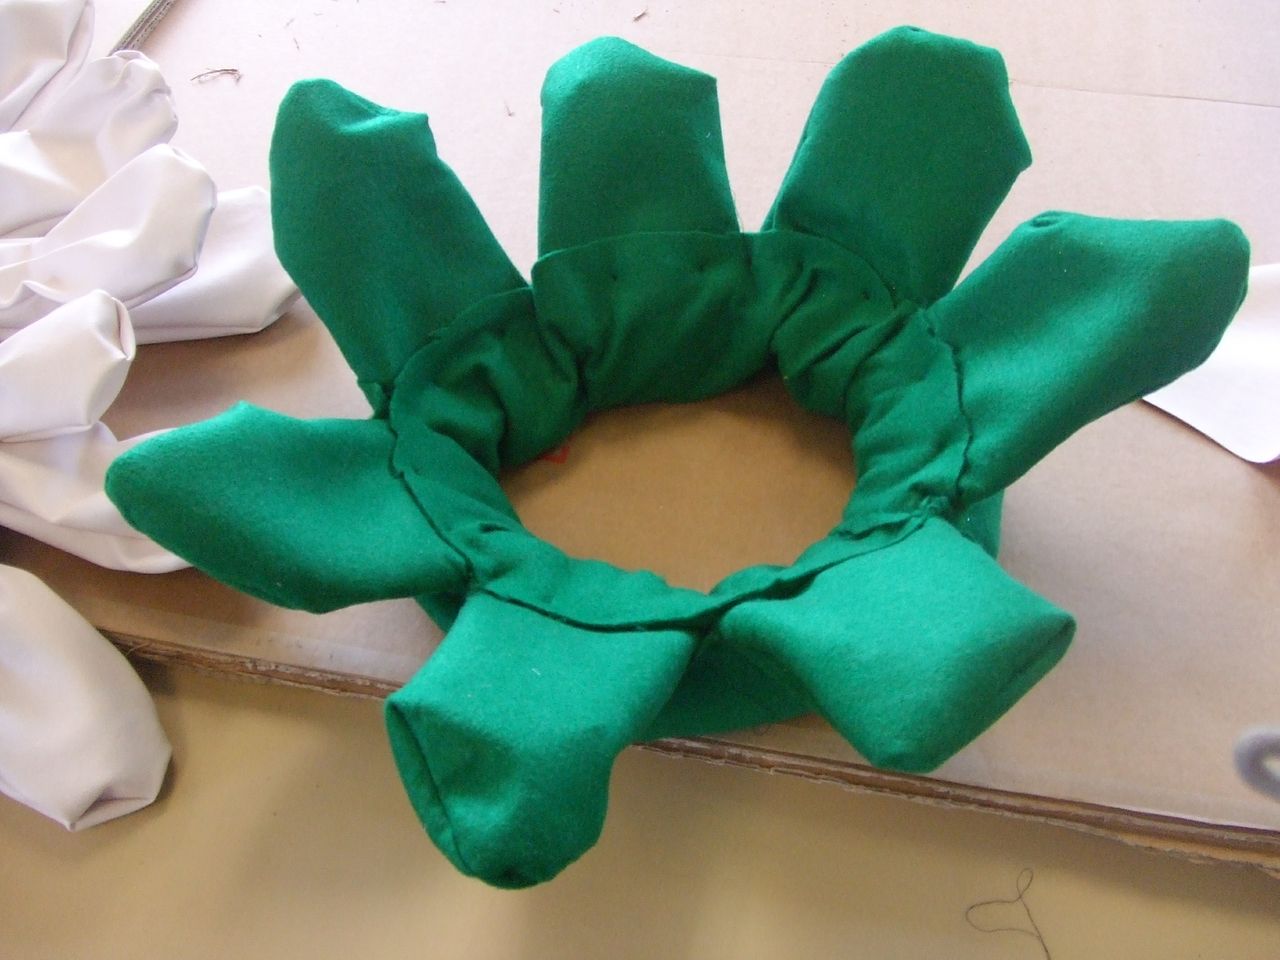
Meanwhile back at the lab, I was working on experimenting with how to make hte flower petals. I hand sewed a petal and put in some ruffles to try and mimic as much as possible the appearance of the flower in the photograph. The material is very unsuitable for putting in ruffles, but as i mentioned before, it was a comprimise for what material would best take the UV paint we had ordered.
 |
| Sewing the petals. |
 |
| Finished test petal. |
The petal turned out reasonably good, though i thought for the next time I'd make the pieces bigger, particually in the width as this would allow for
more ruffles. We finished up the day with general model making and
plans for how we would set about constructing the flower and bee properly which will
start tommorow.


